Celiac Chat
Gluten-Free Simmered Kiriboshi Daikon Recipe (Dried Shredded Daikon)
Prep: 15 minCook: 25 minMakes: 4 to 6 servings
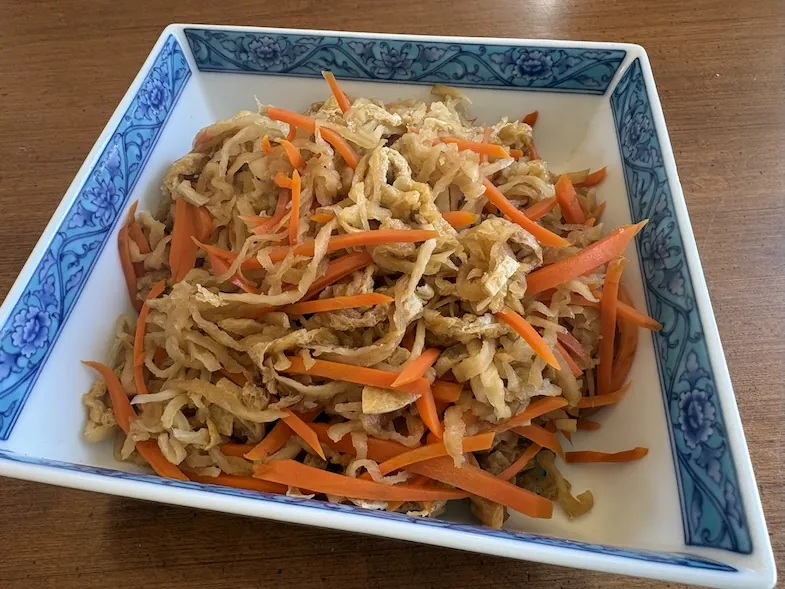
This is one of my family's favourite Japanese side dishes. It is simple to make and so tasty.
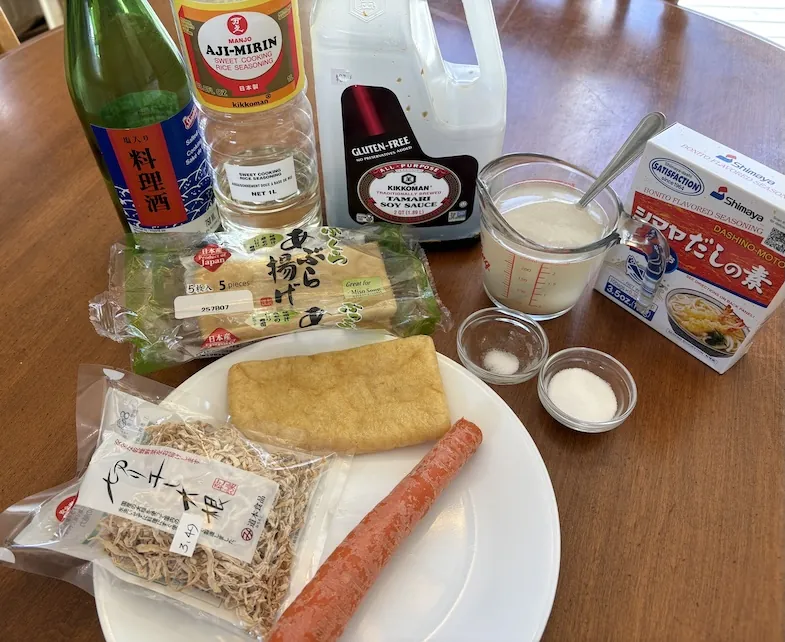
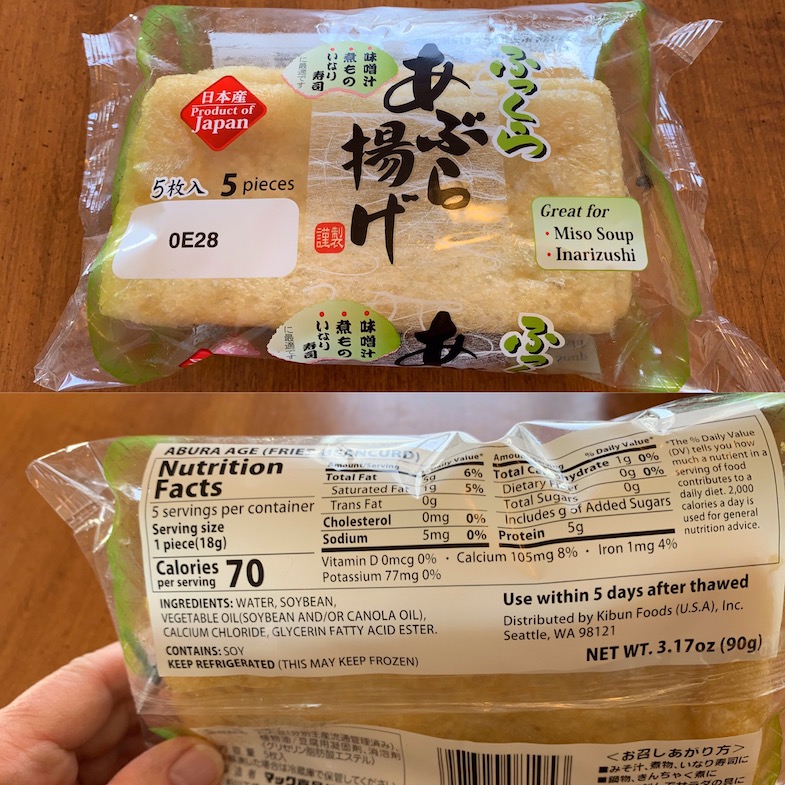
Above are the ingredients I used. I buy my kiriboshi (dried shredded daikon) and aburaage (thin fried tofu sheets) from Asian food stores. Just make sure to check the ingredients for BROW (Barley Rye Oats Wheat). In Canada you can trust the label. Both products are low risk and therefore don't need to be gluten-free certified as long as the ingredients list is safe. Buy the unseasoned aburaage, some are seasoned with soy sauce which sometimes has wheat in it. Again always read the ingredients label to be sure that it is safe for celiacs.
Gluten-Free Kiriboshi Daikon Recipe
Ingredients
- 25 gram package Kiriboshi Daikon (dried daikon strips)
- 50 grams (3 sheets) aburaage (thin fried tofu)
- 70 grams carrot, julienned.
- 1-2 Tablespoons oil for frying
Ingredients for sauce
- 1 cup water with a teaspoon of dried dashi granules
- 1/2 cup water from the soaking water for the kiriboshi daikon
- 1 Tablespoon sake
- 2 Tablespoons mirin
- 2 teaspoons sugar
- 1/8 teaspoon salt
- 2 Tablespoons gluten-free soya sauce
Directions
- Rehydrate the kiriboshi daikon: Start by rinsing the kiriboshi daikon 2-3 times, and then soak the rinsed and dried Kiriboshi daikon for about 15 minutes. Reserve 1/2 cup of the soaking liquid for later. Drain the rest of the liquid and then squeeze out the excess water. Set aside.
- Rinse the aburaage sheets in hot water, squeeze out the liquid, and pat dry. Slice into thin strips.
- Julienne the carrot.
- Heat the oil in a frying pan. Stir fry the carrot, aburaage and kiriboshi daikon for about 5 minutes, stir occassionally.
- Mix the sauce ingredients, and add to the frying pan. Bring to a boil, then simmer for about 15 to 20 minutes until the liquid is almost gone. Stir occassionally.
- Turn off the heat and let it cool. This allows any remaining liquid to absorb into the vegetable mixture and enhances the flavours.
- This dish is usually served at room temperature.
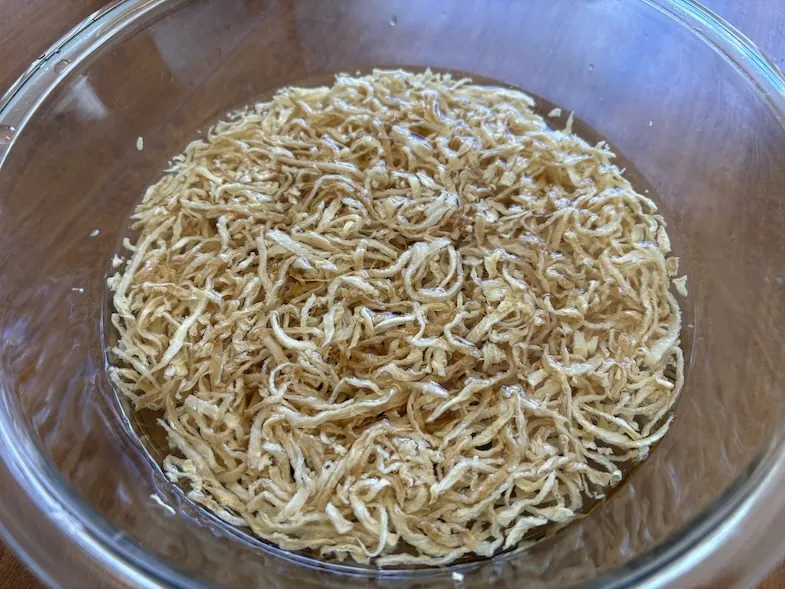
Rinse the kiriboshi dakion a couple of times and then soak in water. This will rehydrate the dried daikon strips. It takes about 15 minutes. Remember to keep about a 1/2 cup of the soaking liquid to use when frying later.
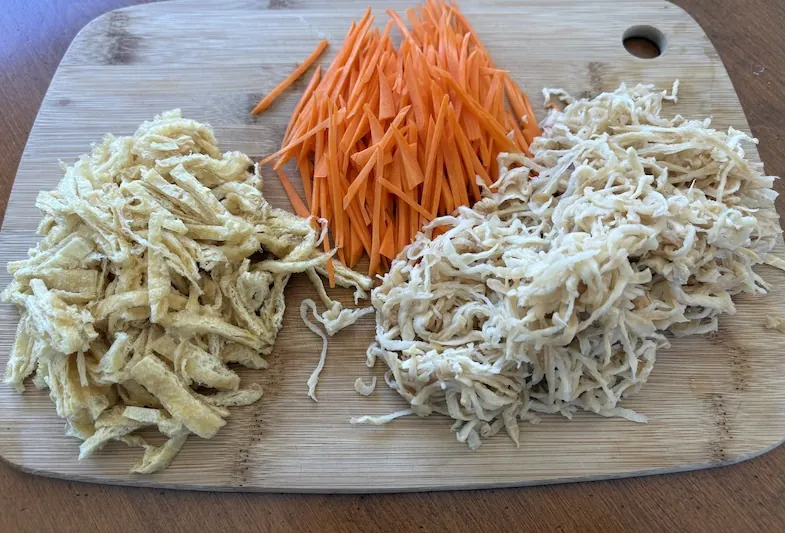
Peel the carrot and cut into fine strips. Pour hot water over the aburaage sheets and then squeeze out the liquid and pat dry. Cut the sheets into thin strips.
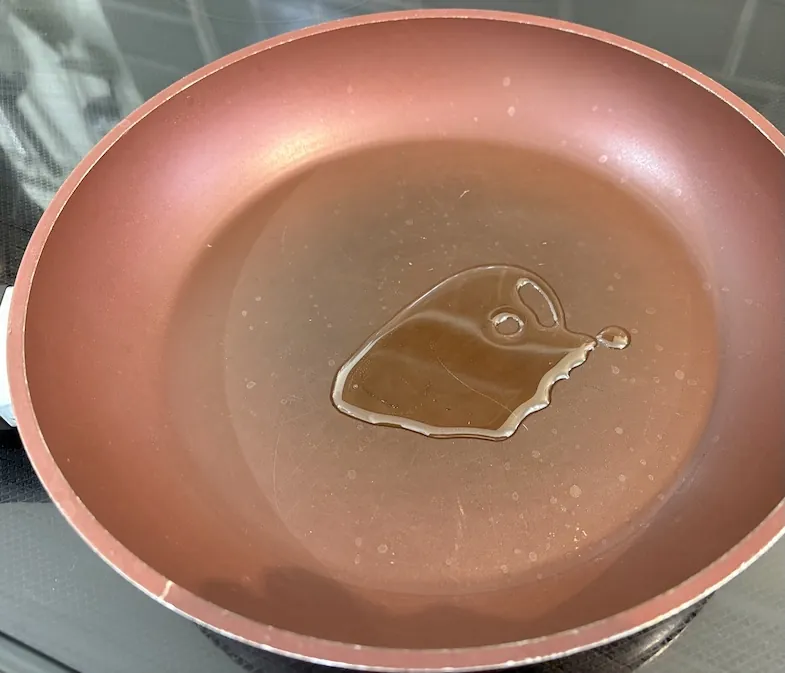
Heat a couple of tablespoons of oil in a frying pan. You can use any oil you like. I usually use canola or sesame oil.
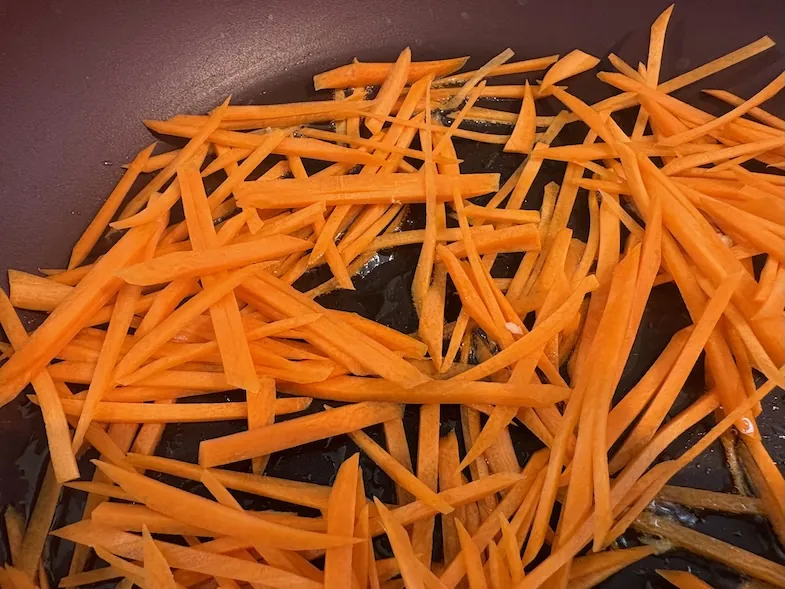
Fry the carrots for about one minute.
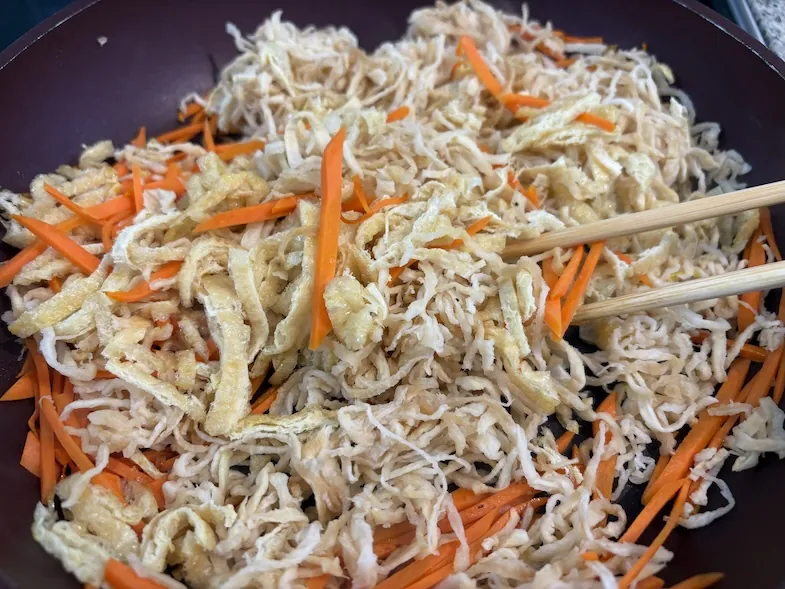
Then add the aburaage and dried daikon. Fry for about 4 minutes stirring occassionally.
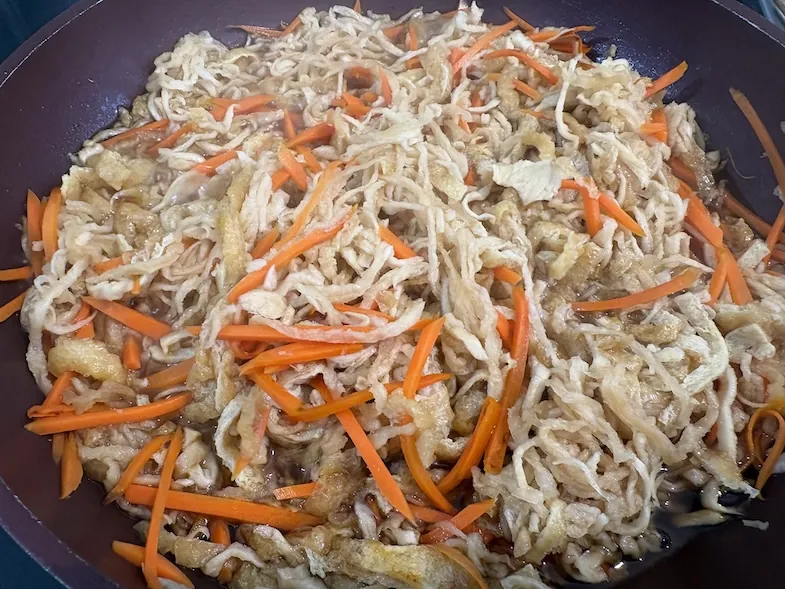
Mix the sauce ingredients in a bowl and add to the frying pan. Stir and cook on medium heat until most of the liquid has evaporated. Then let it cool down. Any remaining sauce will absorb into the ingredients as it cools.
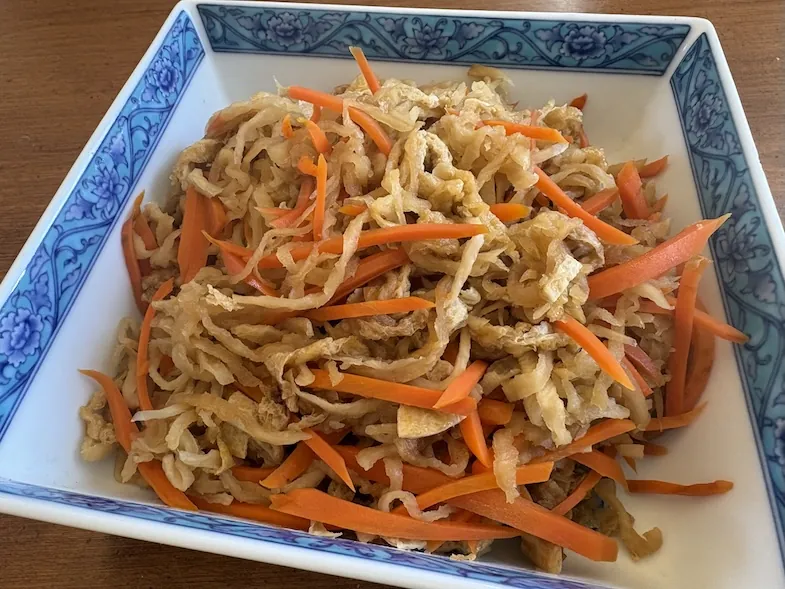
Serve family style in one large bowl, or you can serve on small individual plates. I usually pair with plain rice, miso soup and some type of protein such as grilled fish or fried chicken. Kiriboshi diakon is great in bento boxes.
Note: These are my personal experiences and opinions. Always seek out a medical opinion for medical concerns. Not sponsored. If sponsored I will always say so at the top of the post.